- Secured battery that had been loosened when installing MRBF's.
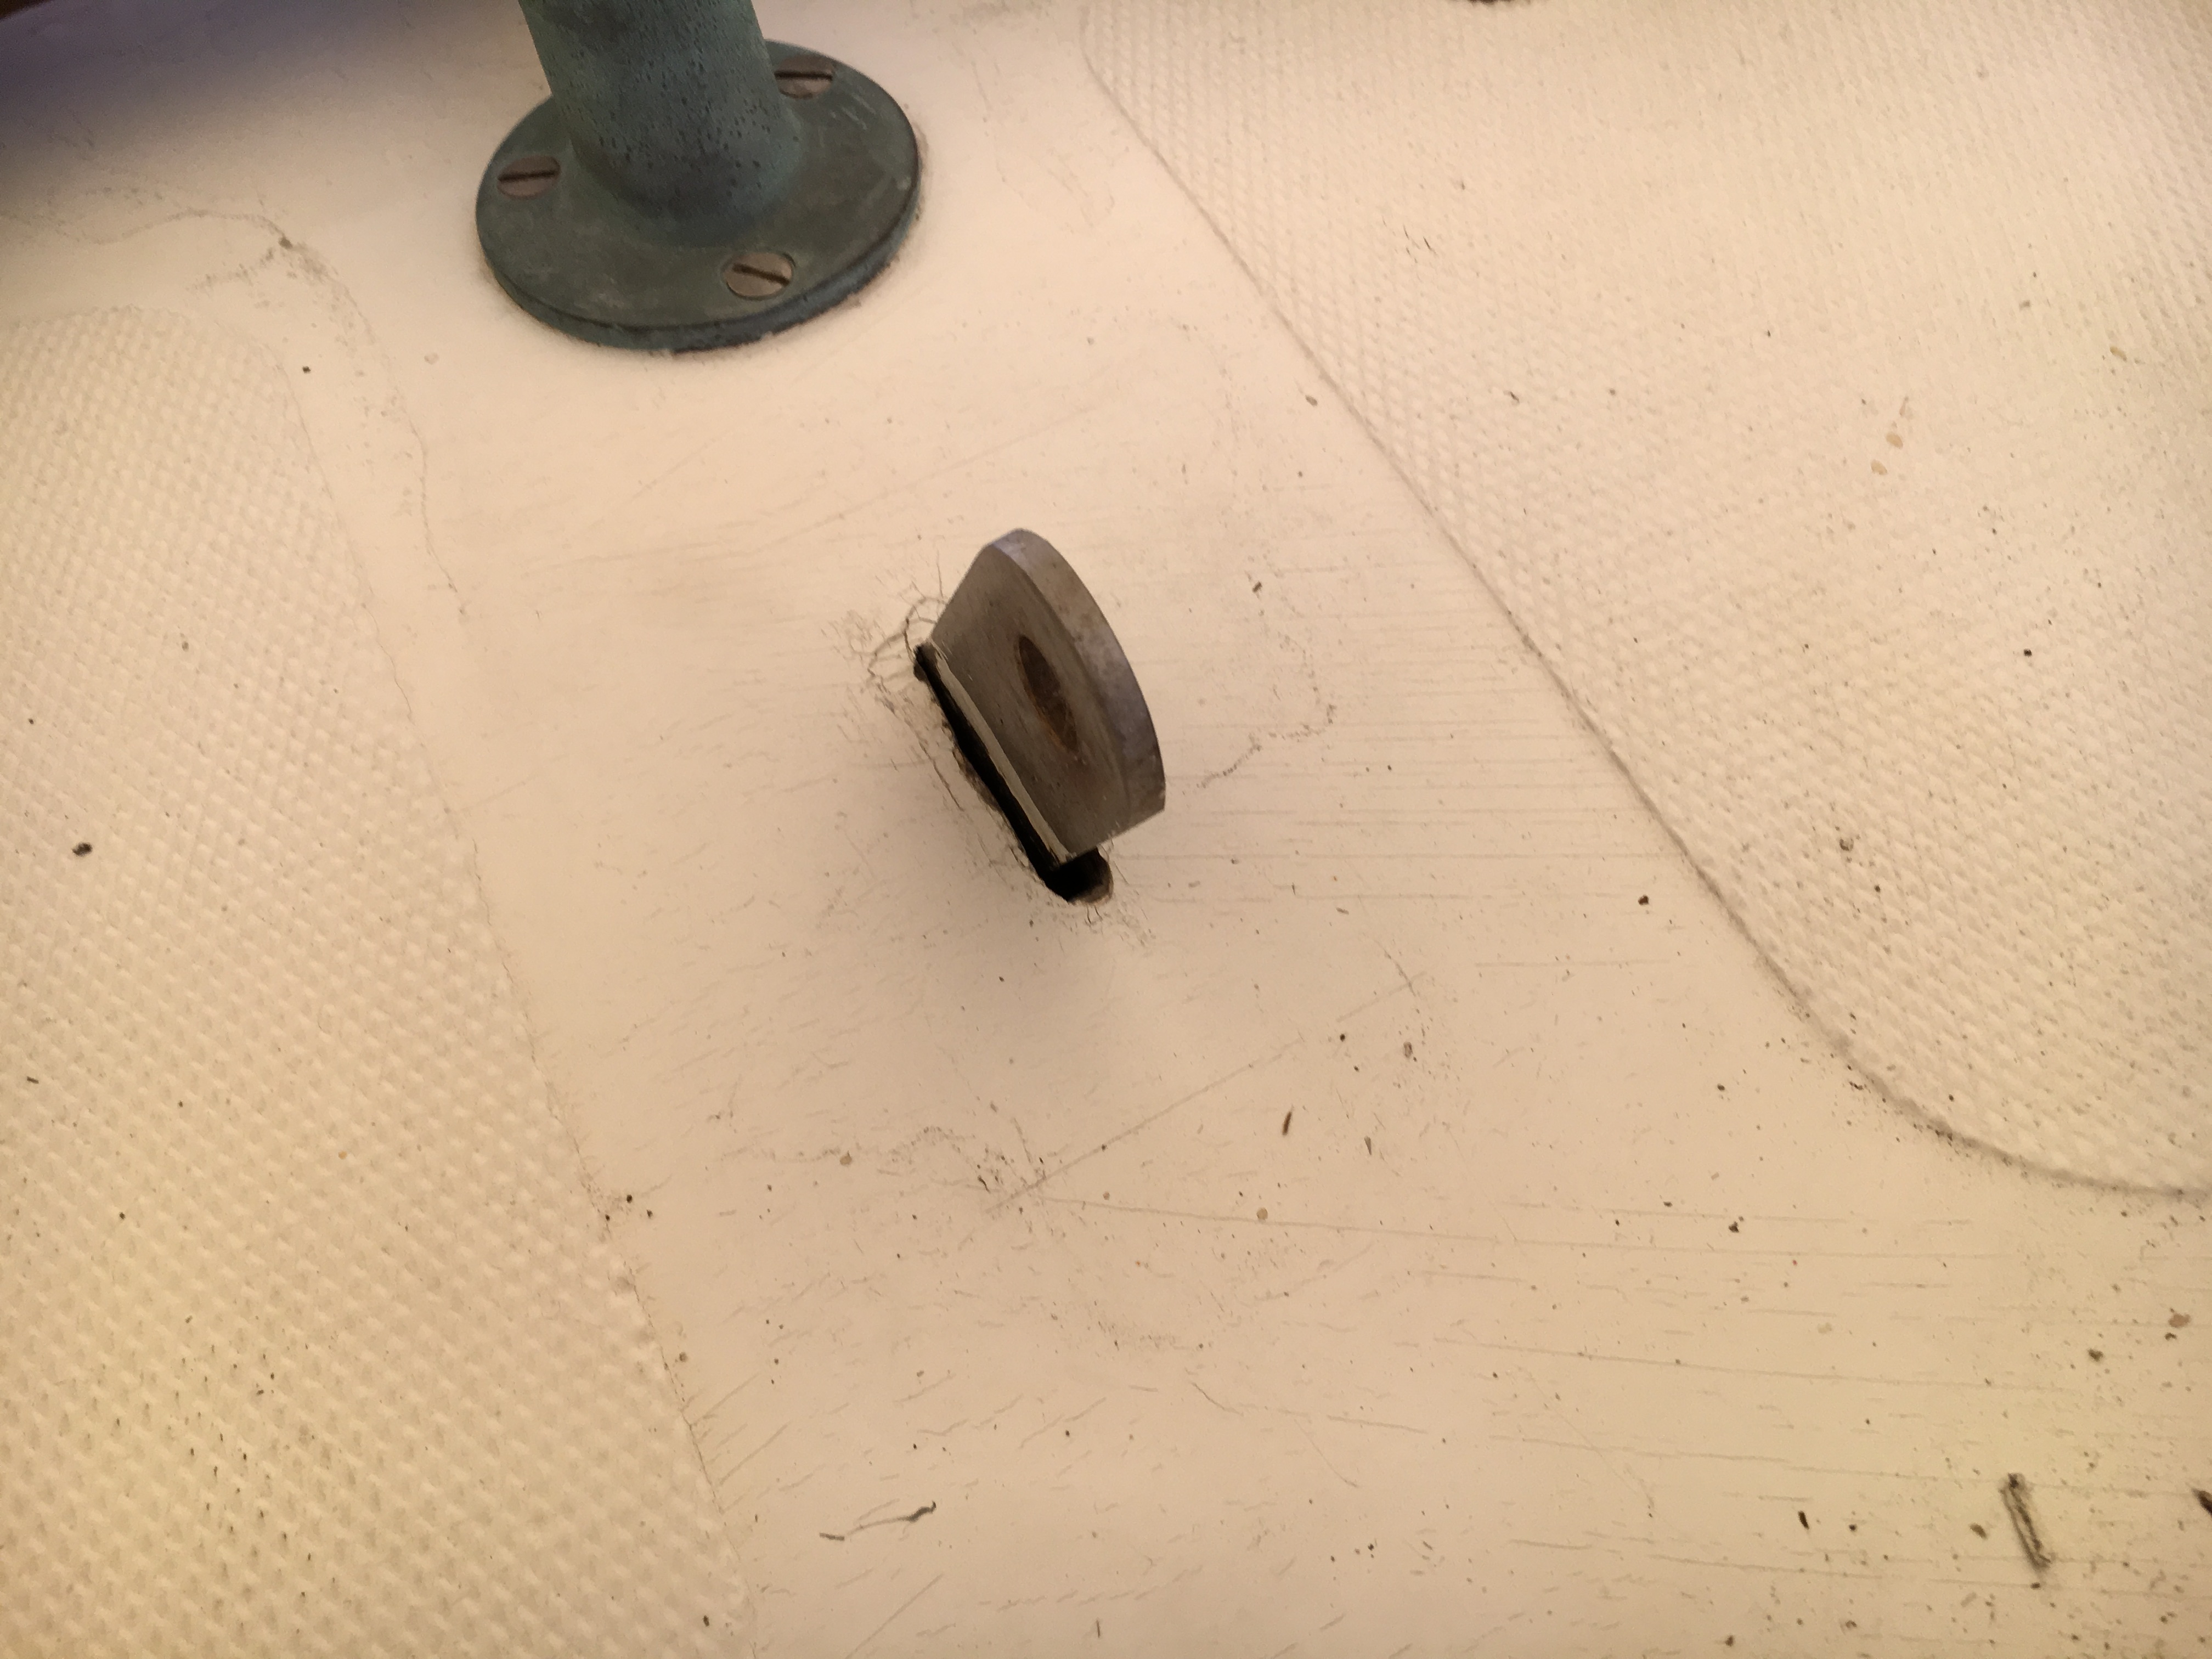
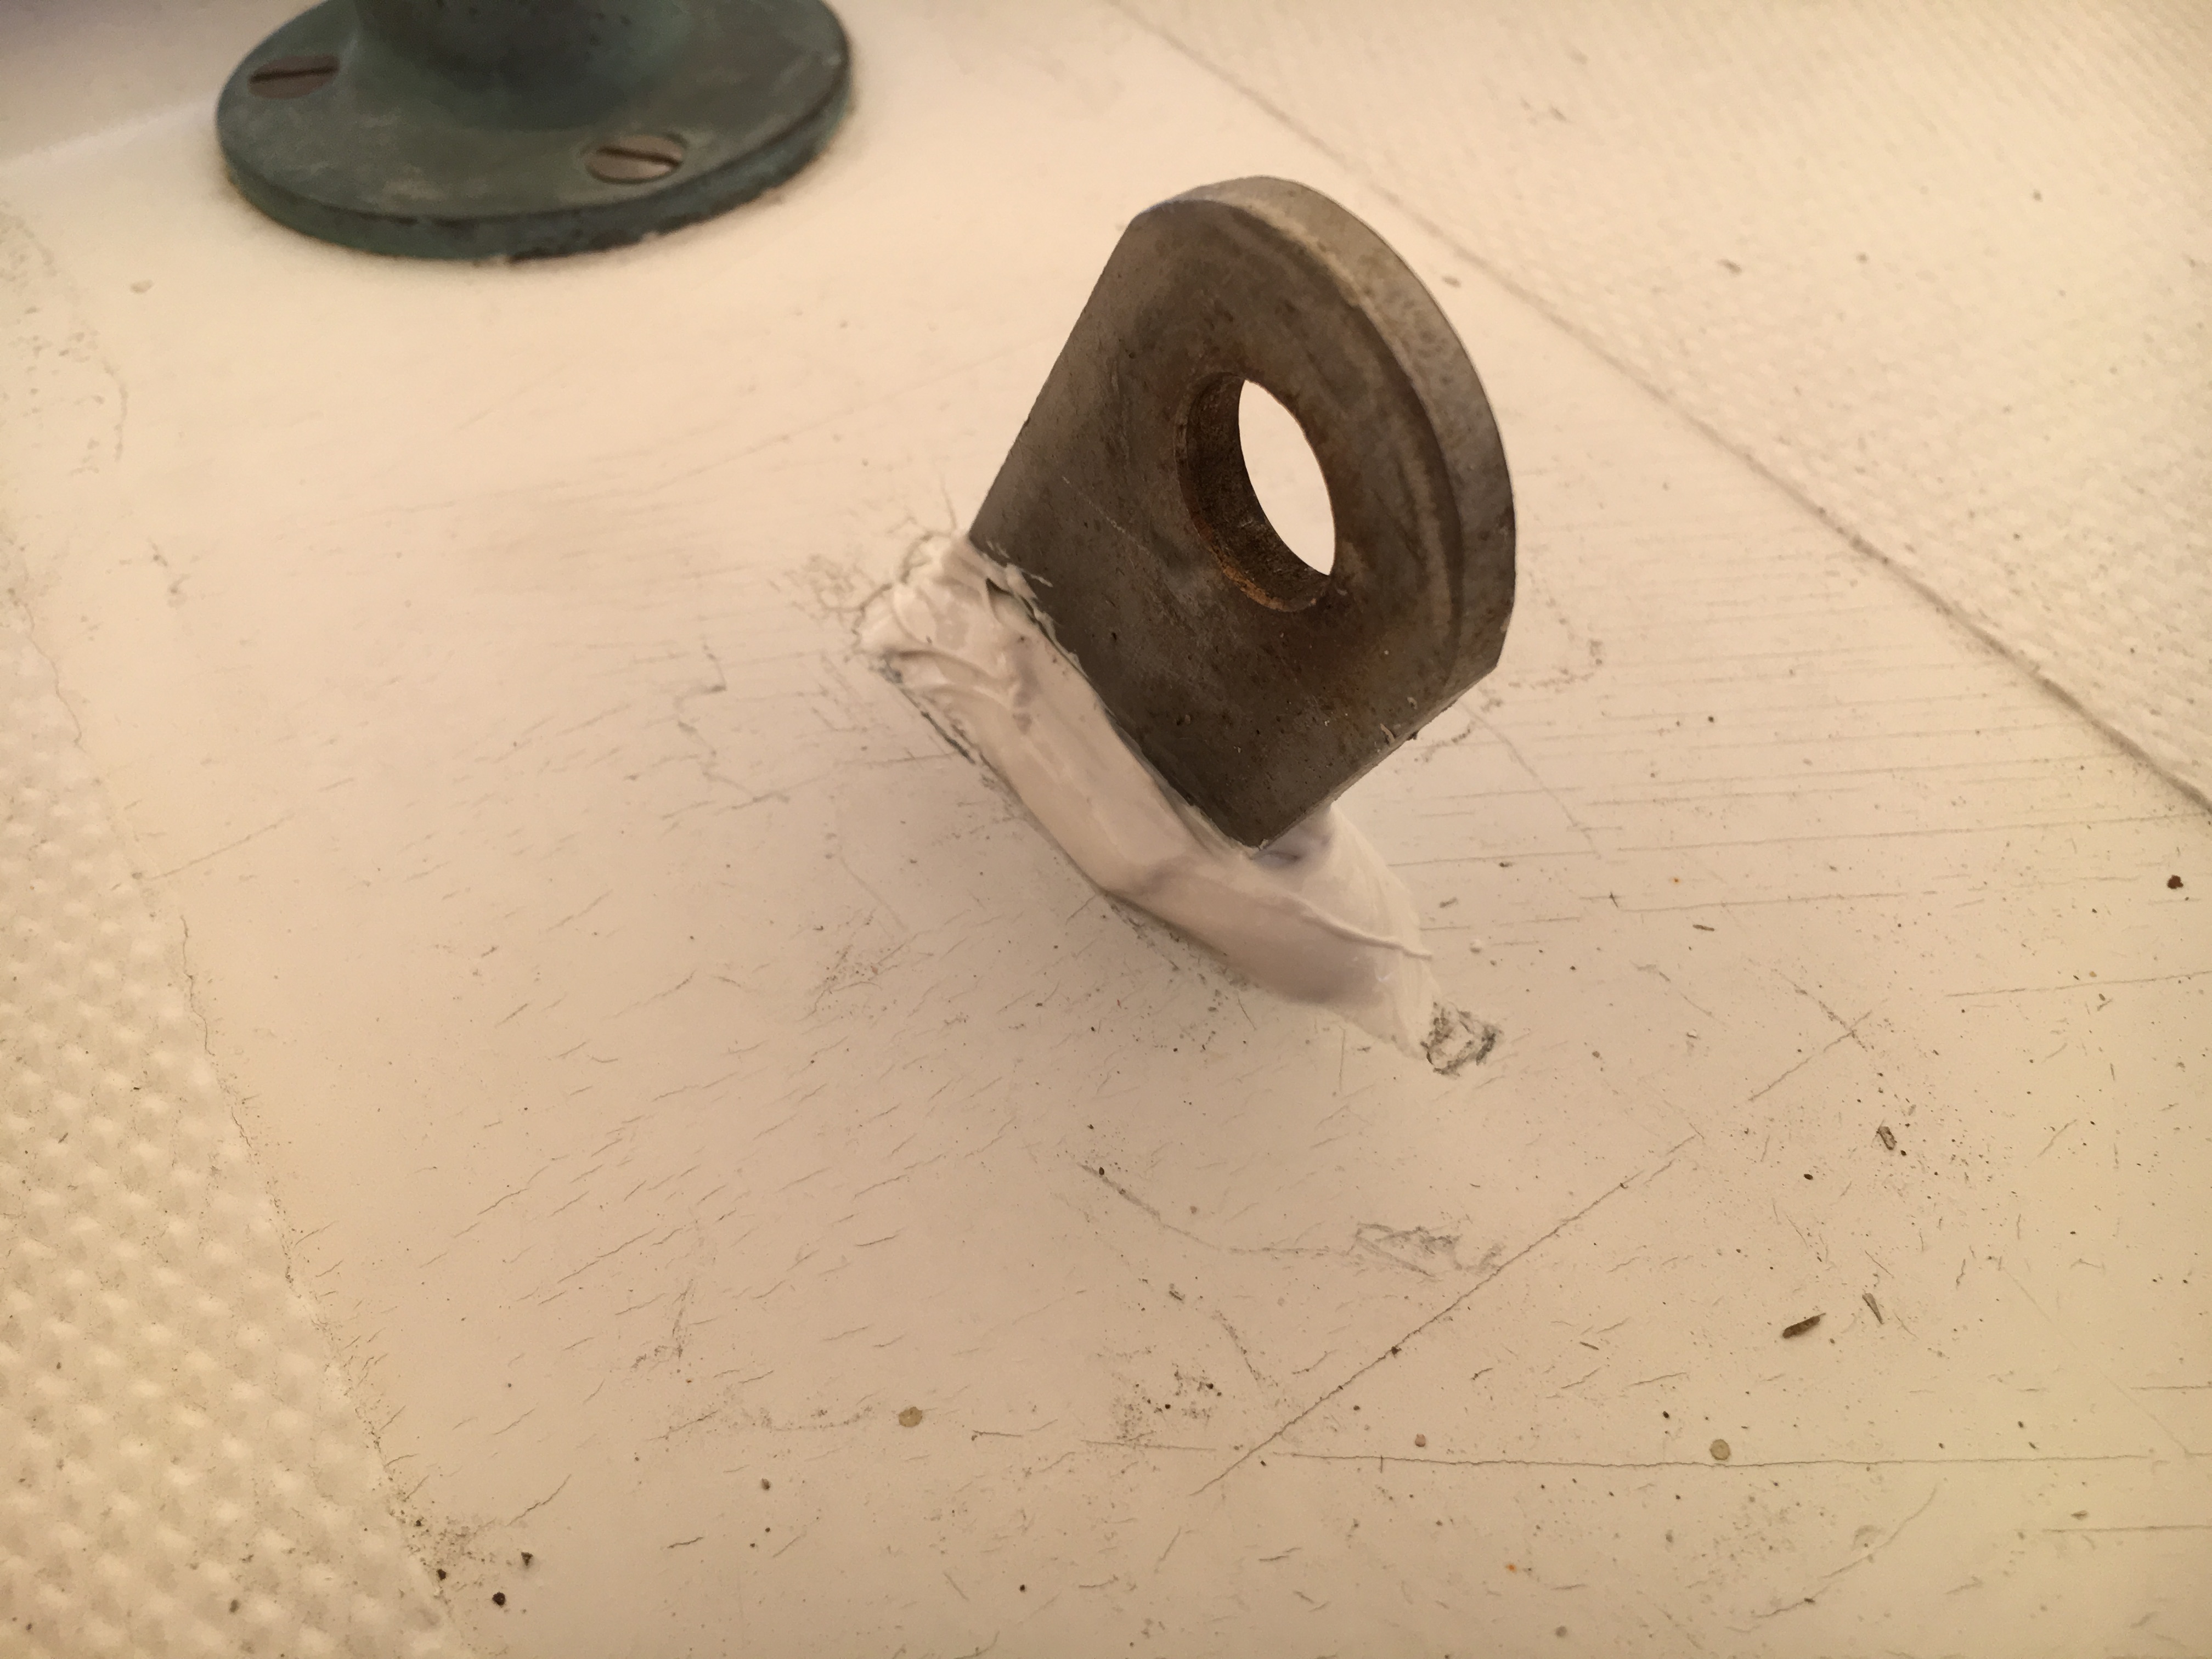
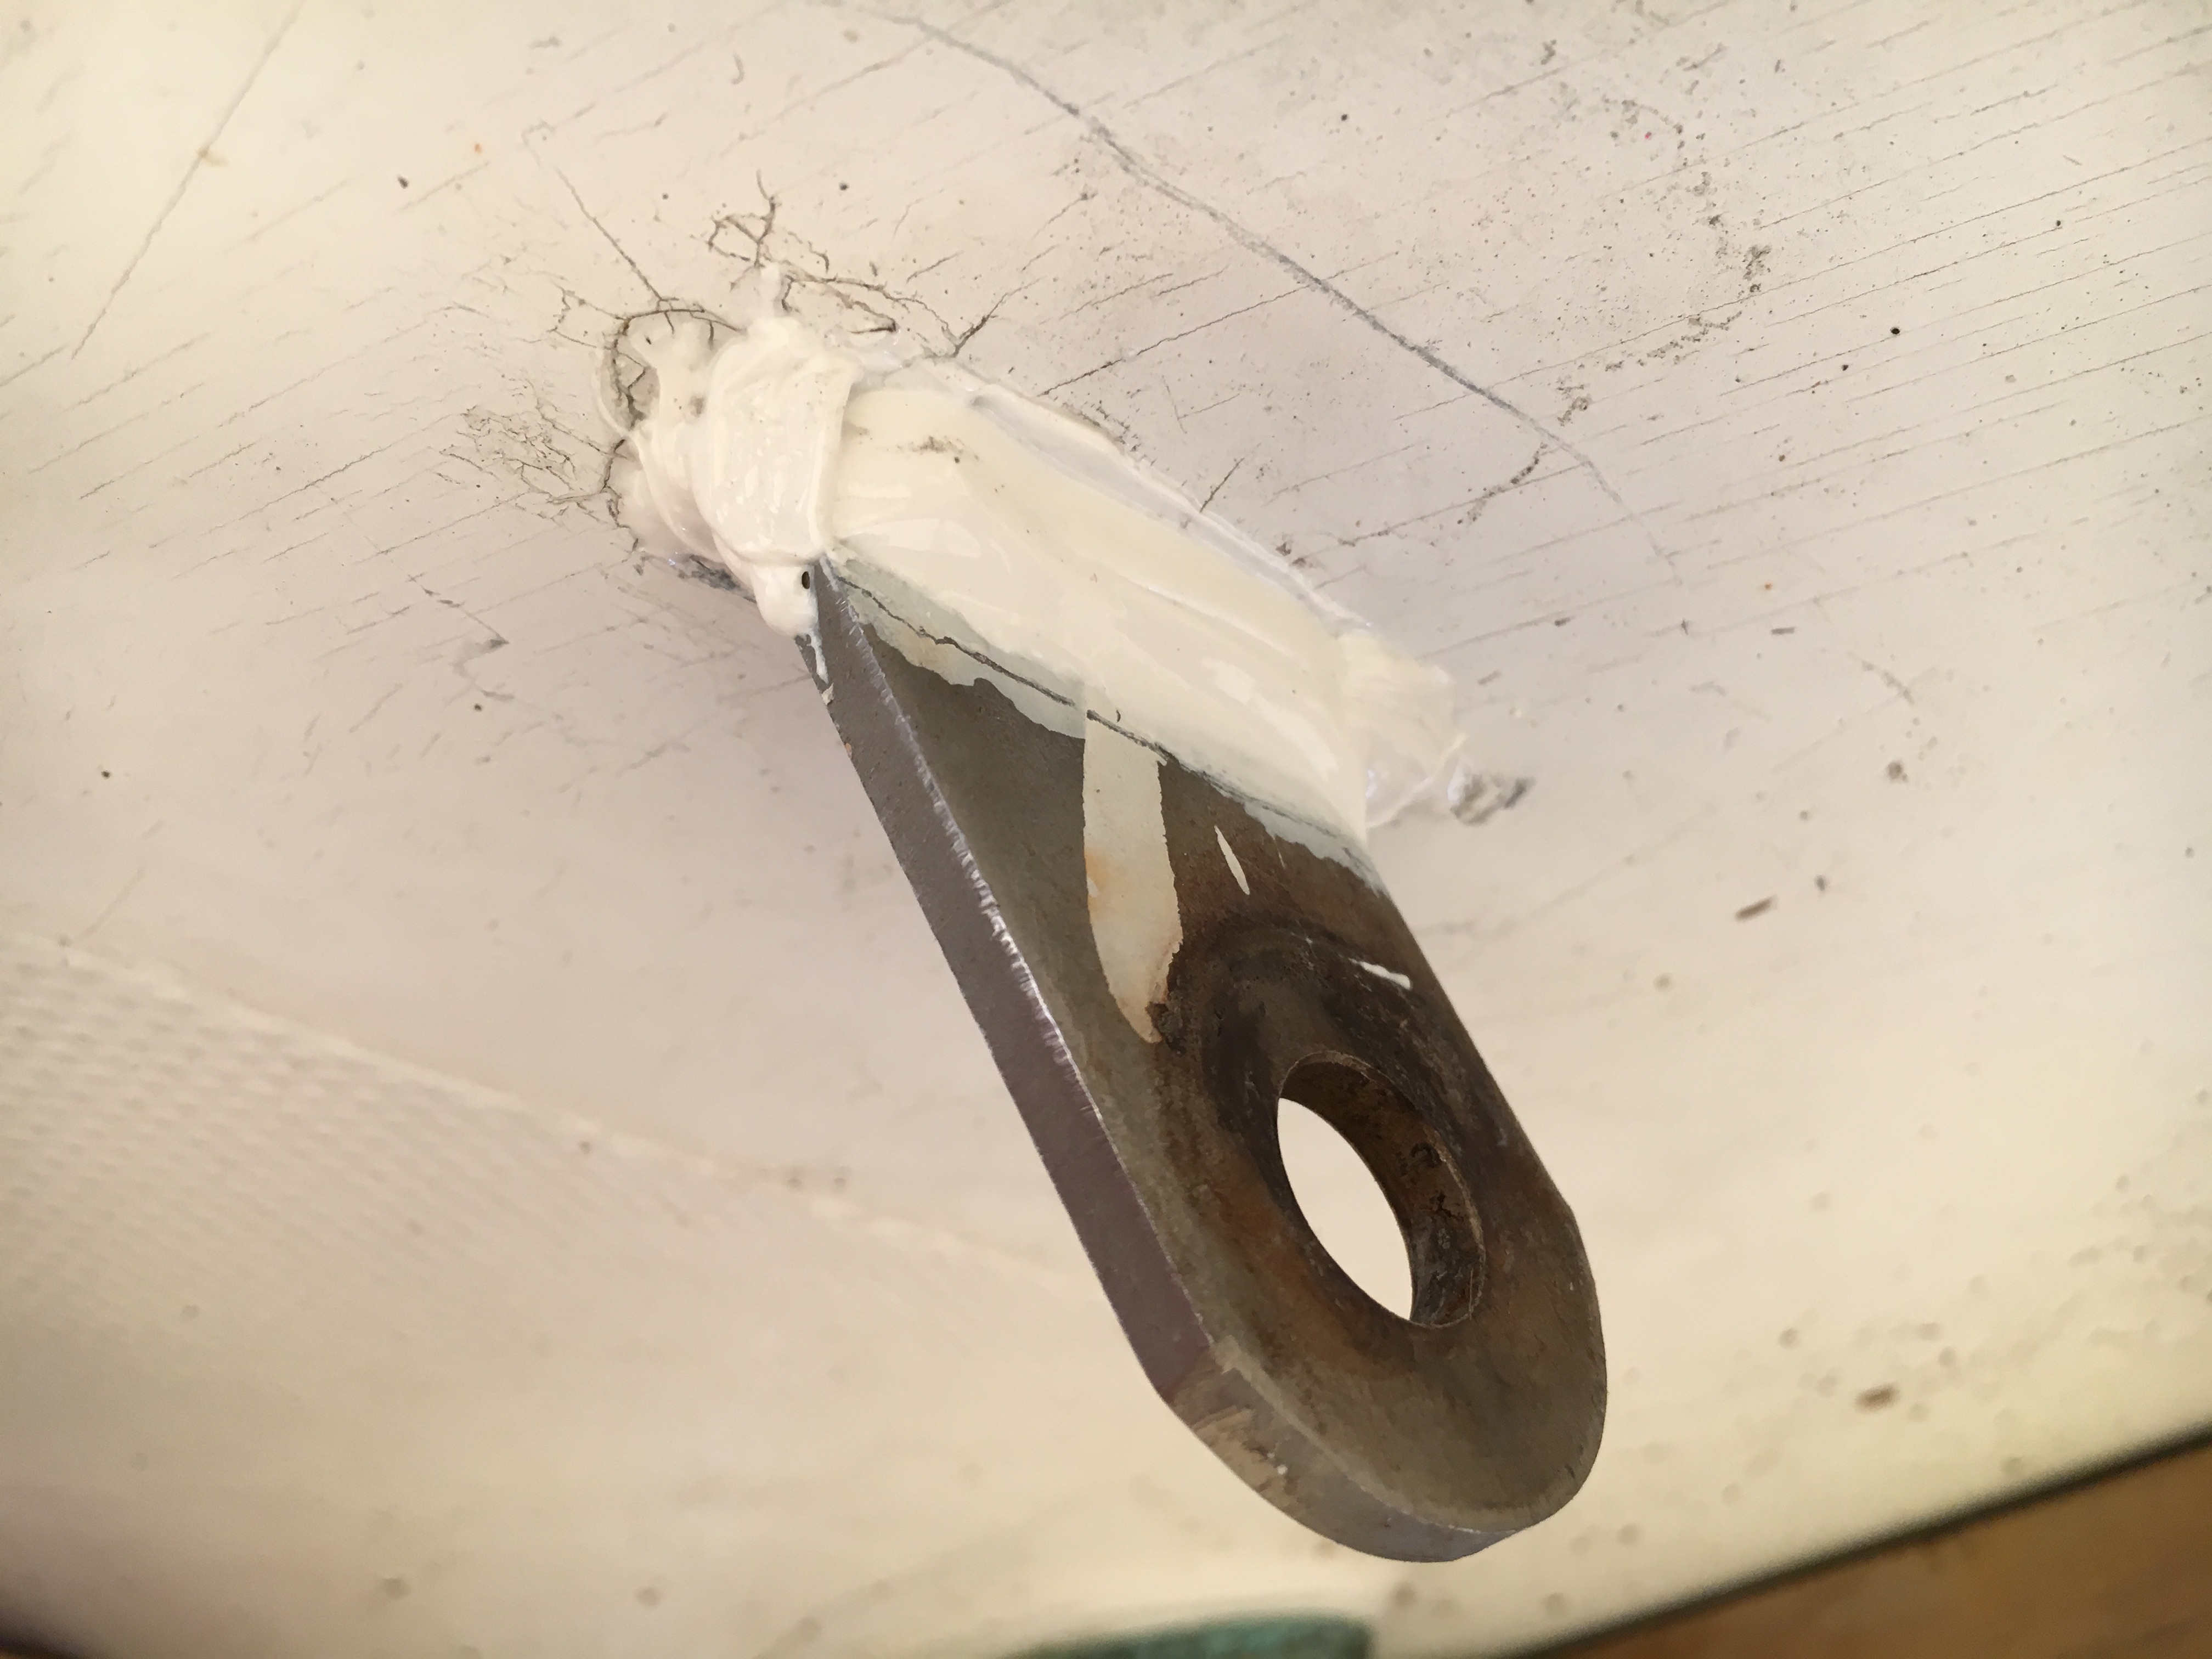
- Fully tightened backstay chainplate bolts.
- Sealed backstay chainplate deck penetration with 3M 4200FC
.
- Installed the old thru hull for the manual bilge pump in its new location. Would not have been possible without my wife's help.
- Re-drilled the pilot hole using a piece of wood about 4 feet long and about an inch thick which was drilled with a drill press to obtain a pilot hole perpendicular to the hull.
- Taped the area to be drilled for the 1-1/4" manual bilge pump thru hull.
- Attempted to start the hole for the thru hull running the drill in reverse as its said to chip the gelcoat less. No joy. The Milwaukee Hole Dozer would just back of its arbor.
- Drilled the hole for the thru hull.
- Inserted the thru hull and held it in place while my wife fully engaged the retaining nut inside the aft lazarette.
- Scored the tape around the circumference of the thru hull flange.
- Removed the handle from the 1-1/4" valve.
- Screwed the Groco 1-1/4" full flow fitting
to the valve, fully tightened.
- Screwed the Groco 1-1/4" in-line ball valve
onto the thru hull, tighening it fully.
- Released the retaining nut as far as possible to allow the thru hull to separate from the hull as much as possible.
- Removed the tape from the area under the thru hull flange.
- Tried to apply 3M 4200 to seal the opening by hand. Nightmare. Eddie from Smith's Marina lent me his Valco Cincinnati Tube-Grip 2" Dispensing Plier. Easy. Thank you, Eddie!
- Pushed the thru hull back into its hole and had my wife run down the retaining nut again.
- Happy to see 4200 oozing out from under the thru hull flange all around the circumference.
- Removed the excess 4200 using denatured alcohol.
- Reinstalled the handle onto the 1-1/4" valve.
- Painted the filled holes in the cockpit walls and the deck with a first coat of Rustoleum.
- Painted the filled manual bilge pump hole with EZ Poxy 2
- Reconnected all parts of the raw water system.


