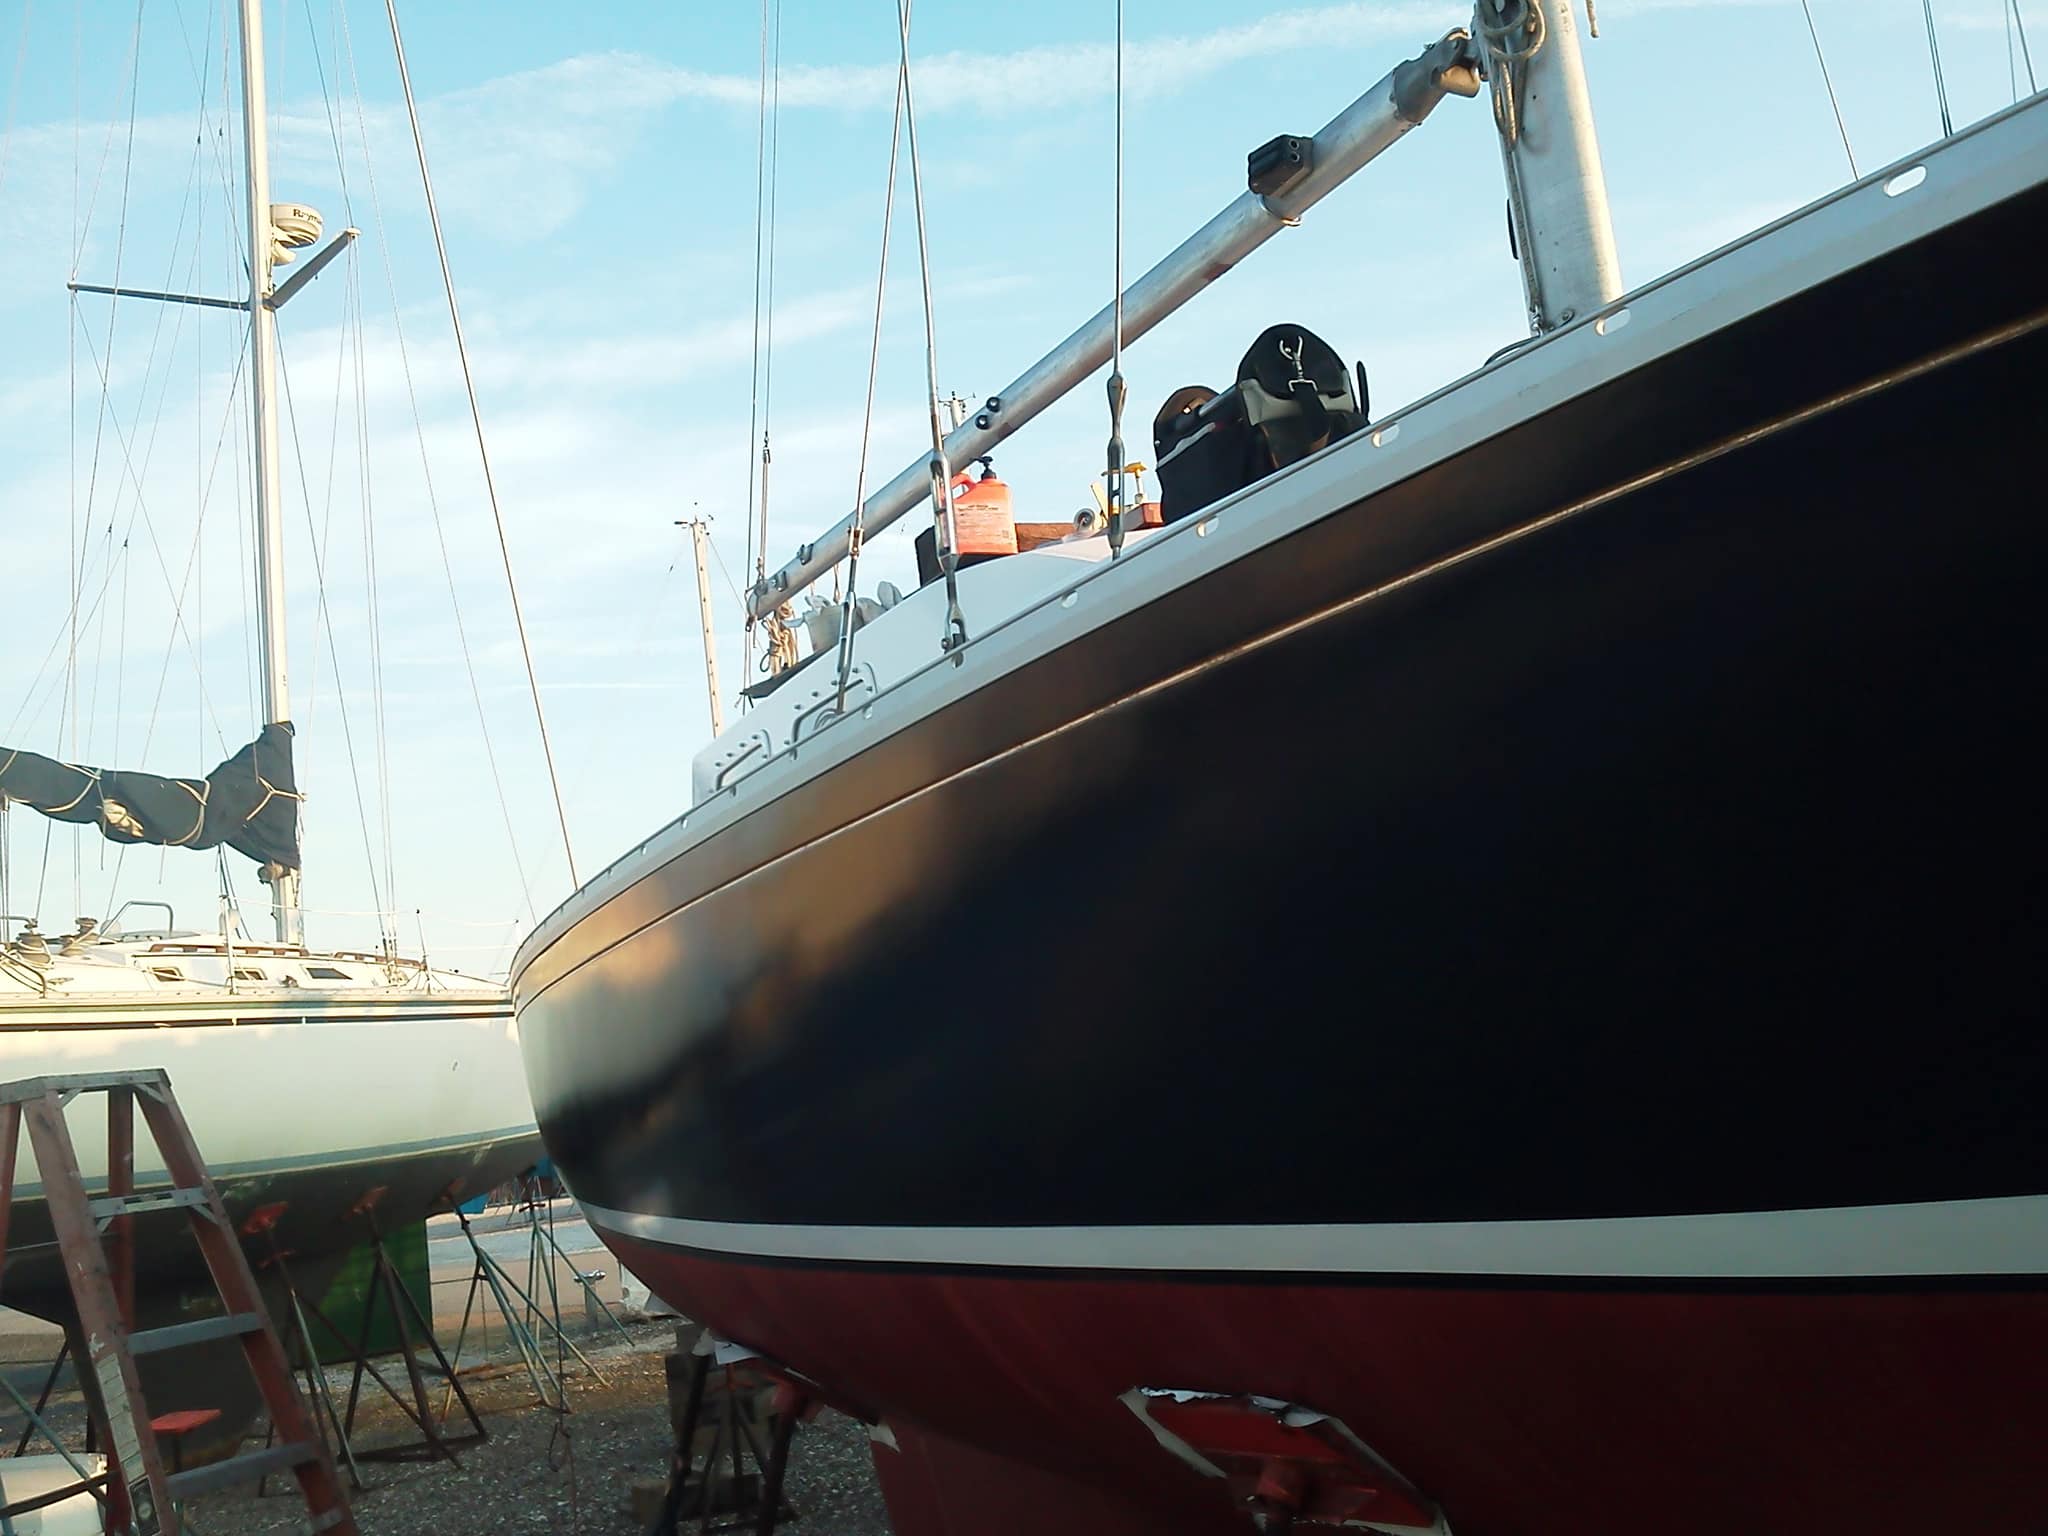
Replacing Toe Rails
As performed by Chris Harkai on Heron #34
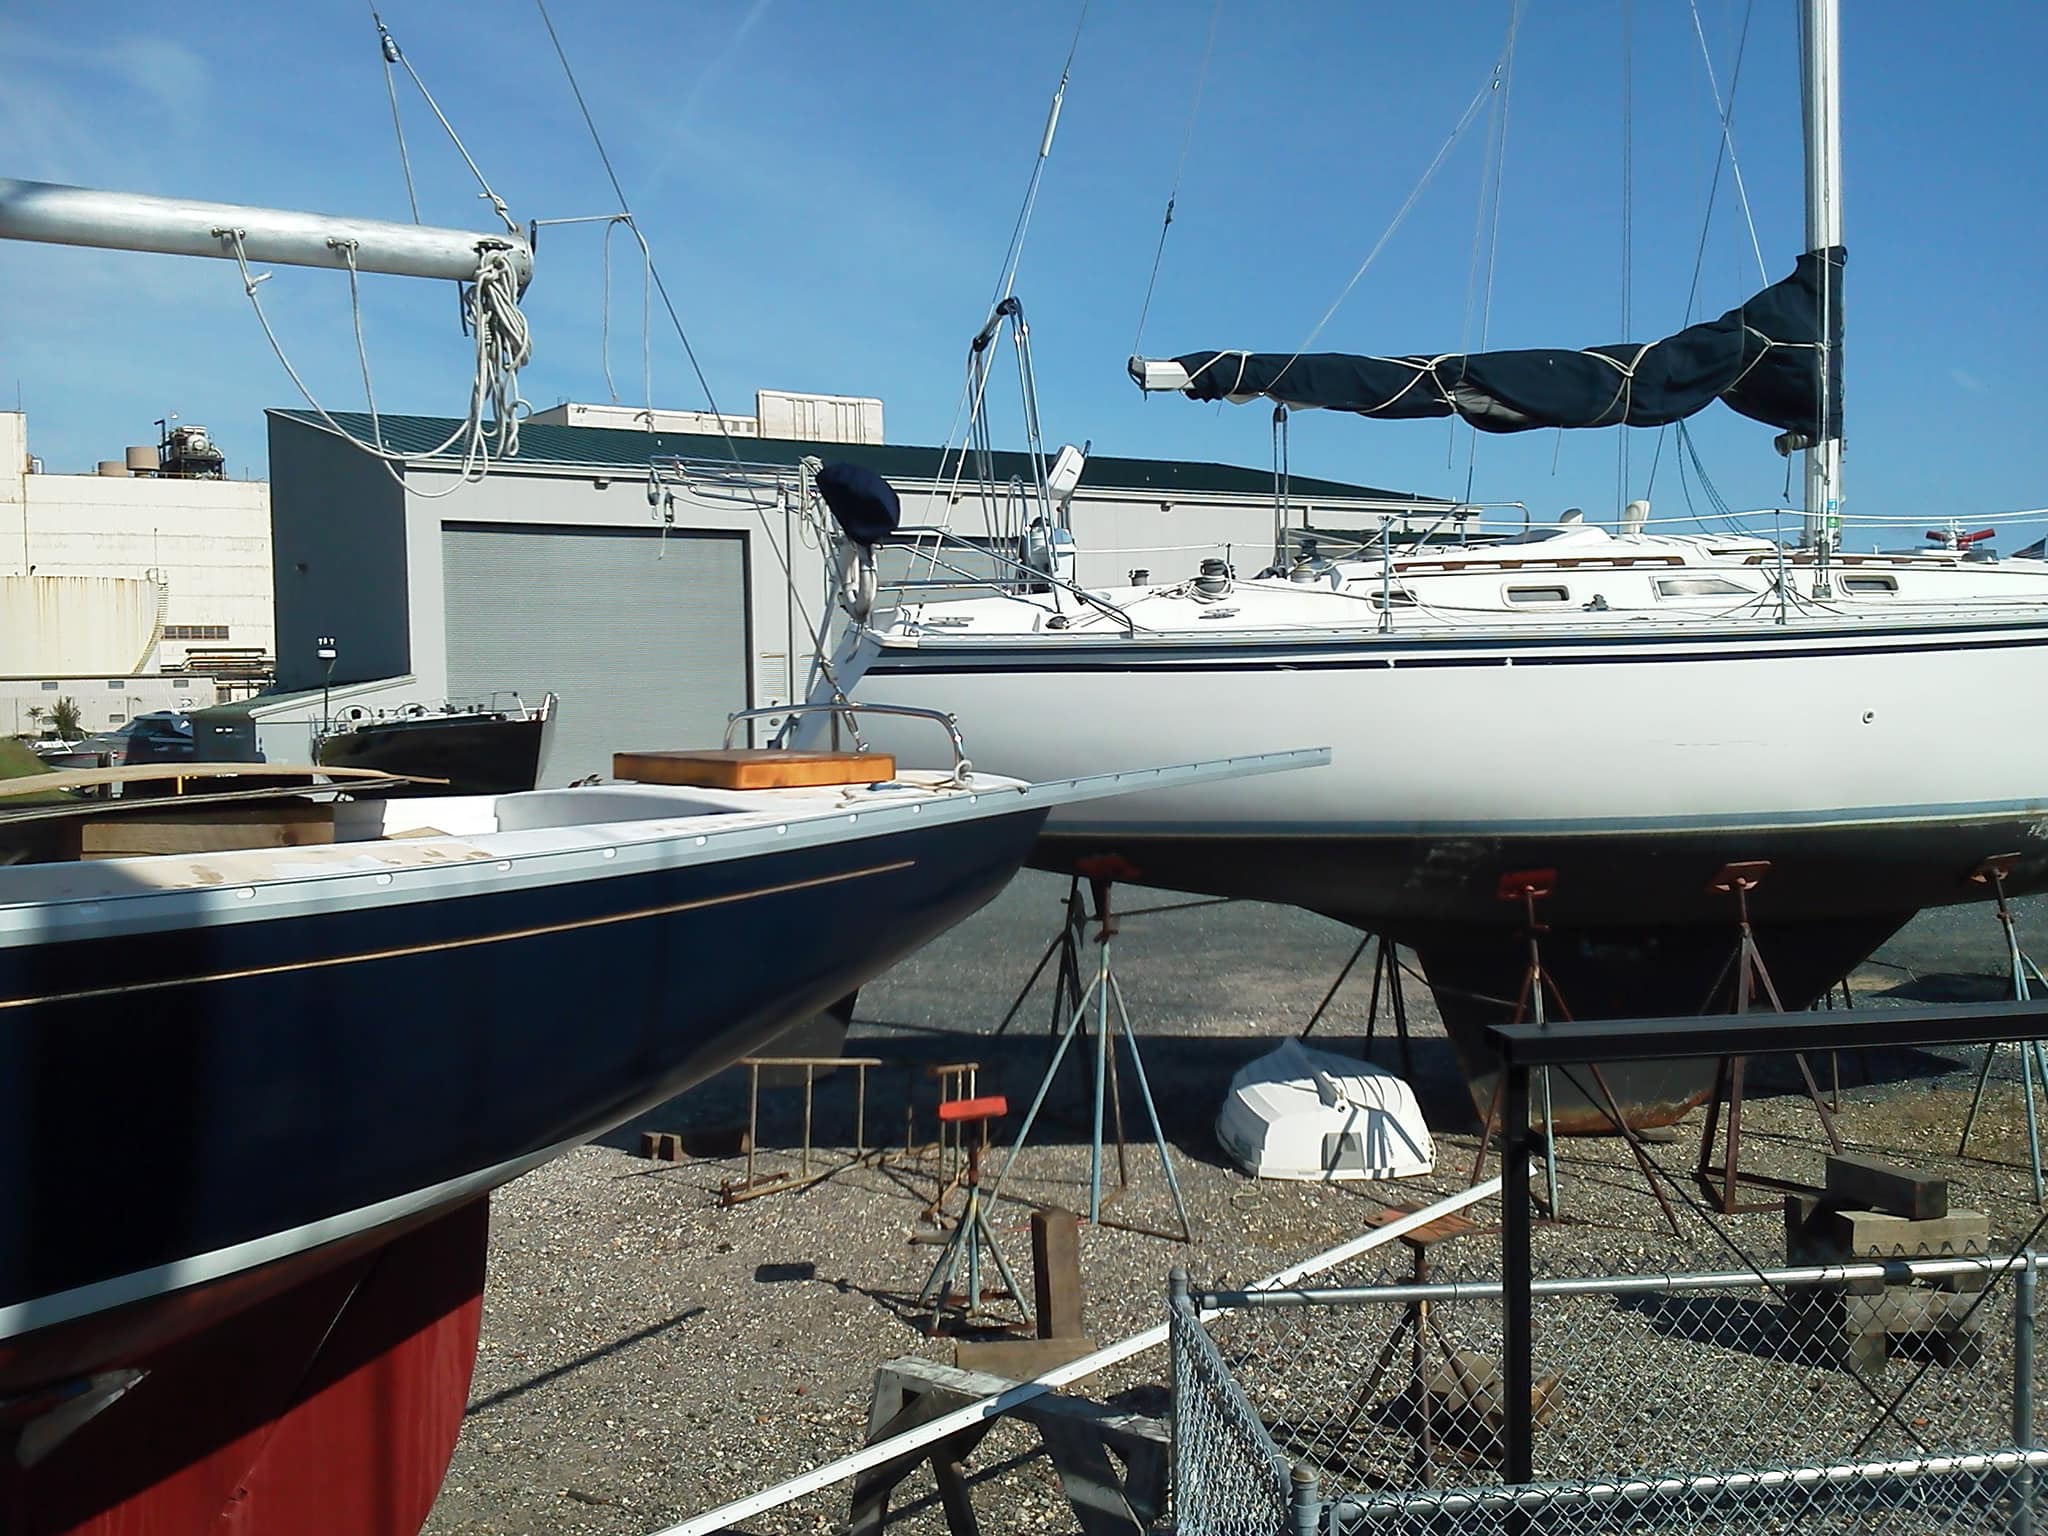
- Find two 35' lengths of toe rail. Pictured here was a closeout from Taco Metals via West Marine. Count the holes, buy enough fasteners to attach. Bolts and nylon lock nuts. Buy a tad long, trim off as last step.
- Remove old wood rail with an angle grinder or tool of your preference.
- Fill and fair out area.
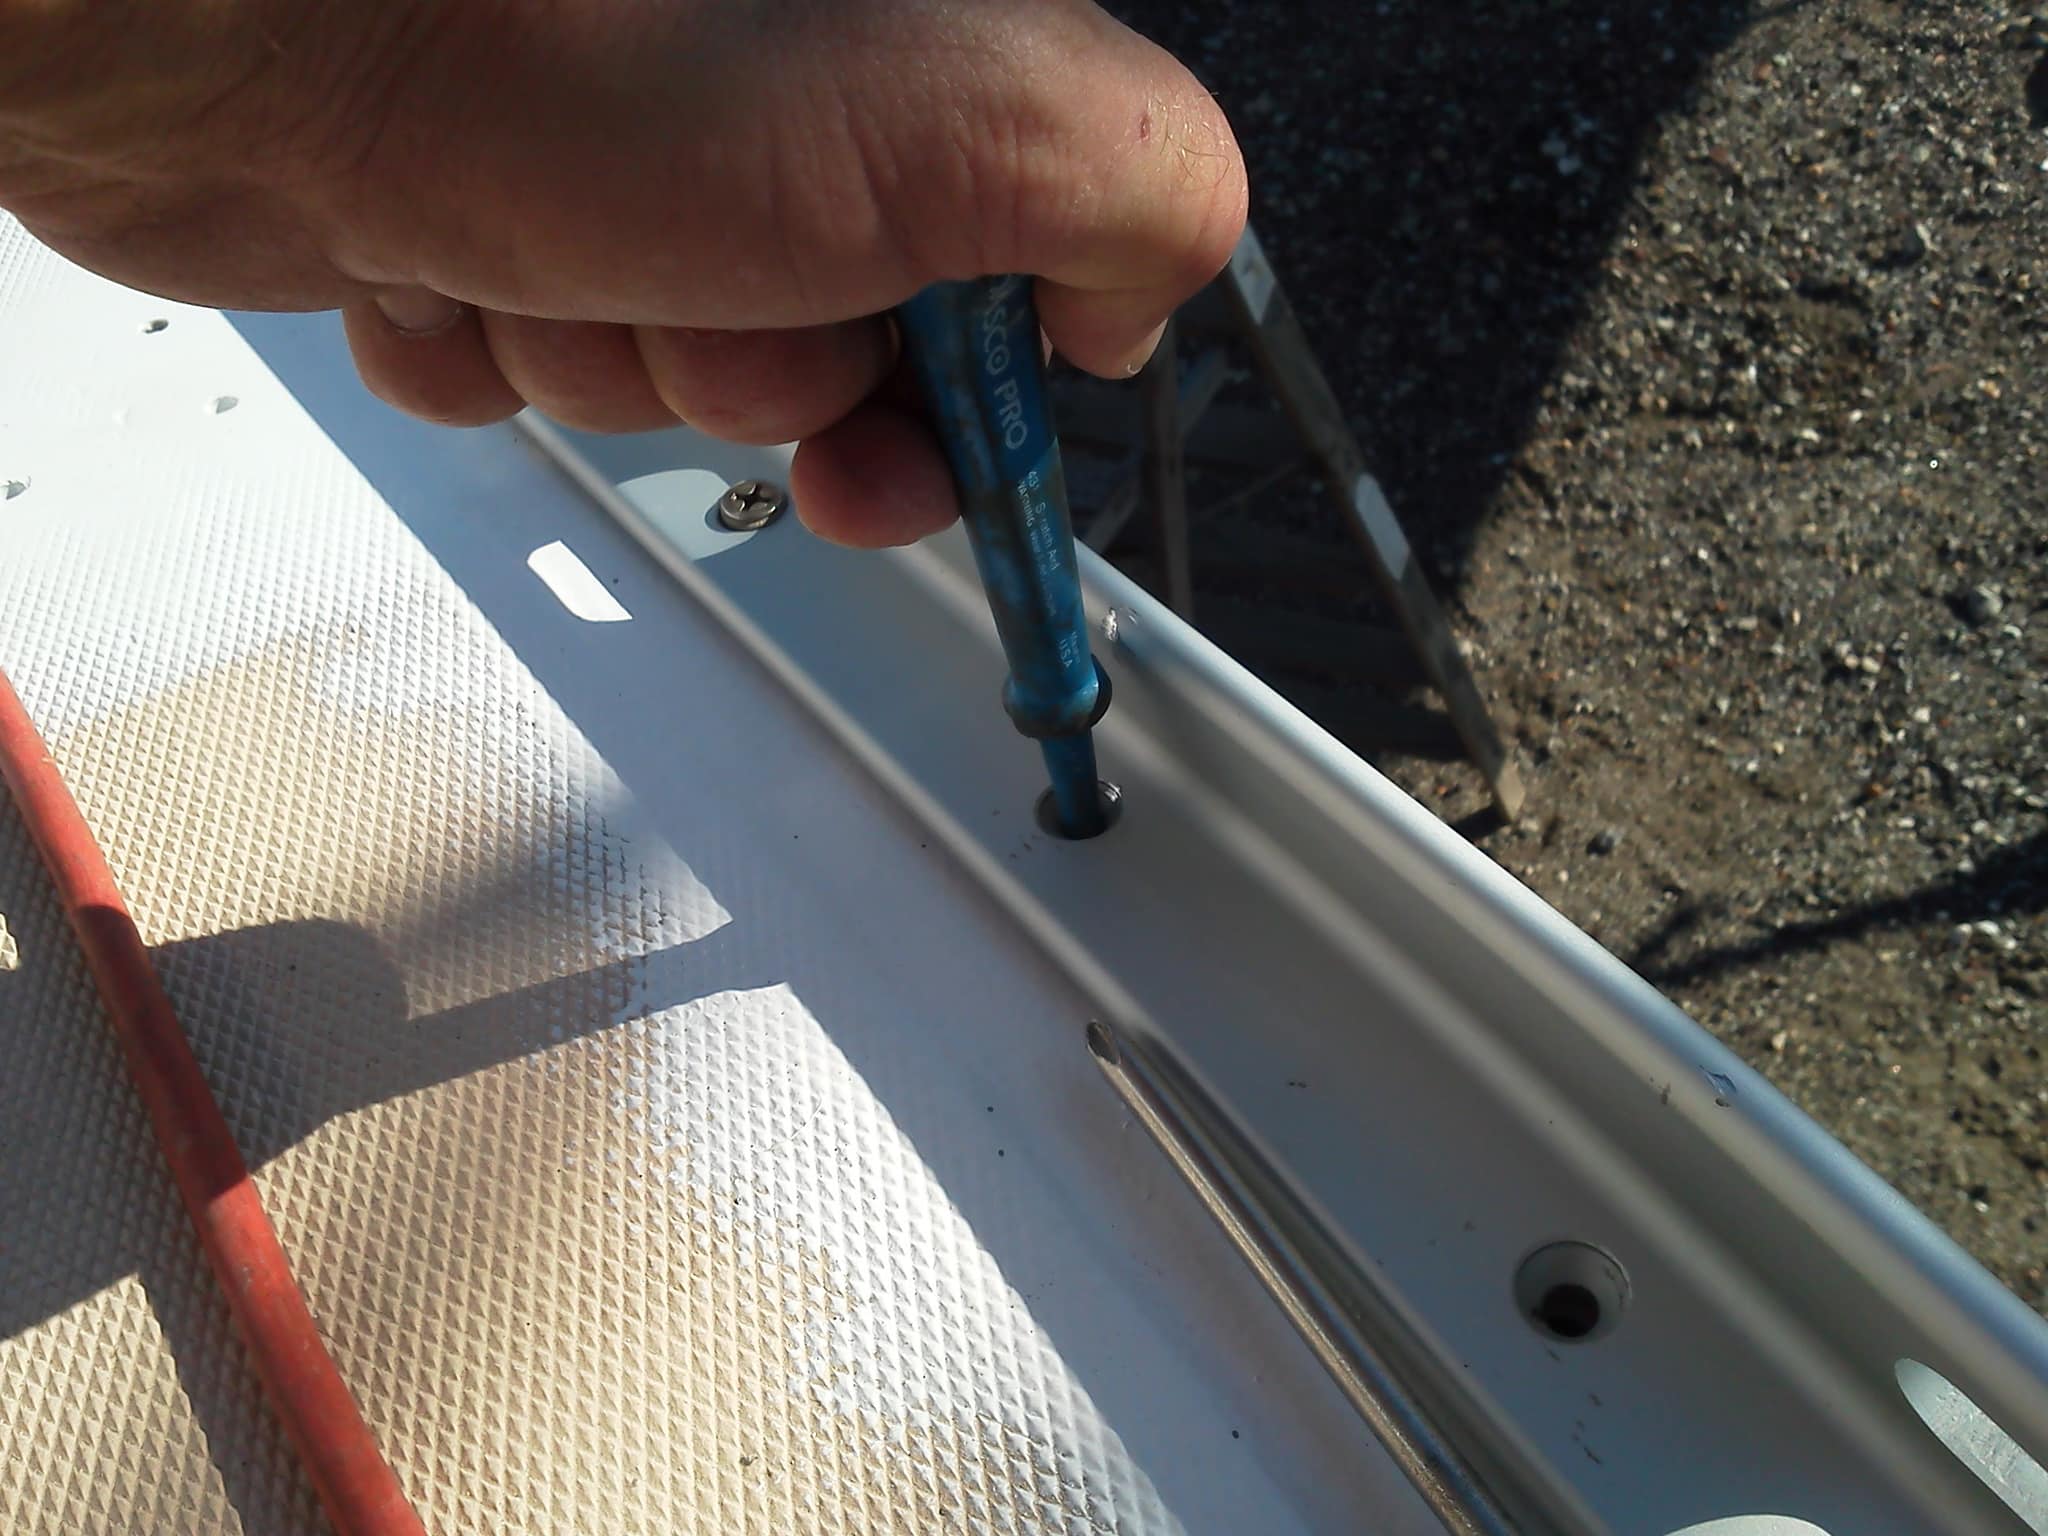
- Find a helper on a ladder to hold rail at opposing end, line up at bow where you like it, and drill the first hole. Place bolt in hole (no nut), have ladder person slightly move rail in so you can drill the next hole and put a holder bolt in place.
- Repeat step #4 for each hole, bending rail on and in as you proceed. Don't cut off rails aft, you'll need the leverage later.
- Once all holes are drilled (port and starboard), remove rails in reverse sequence.
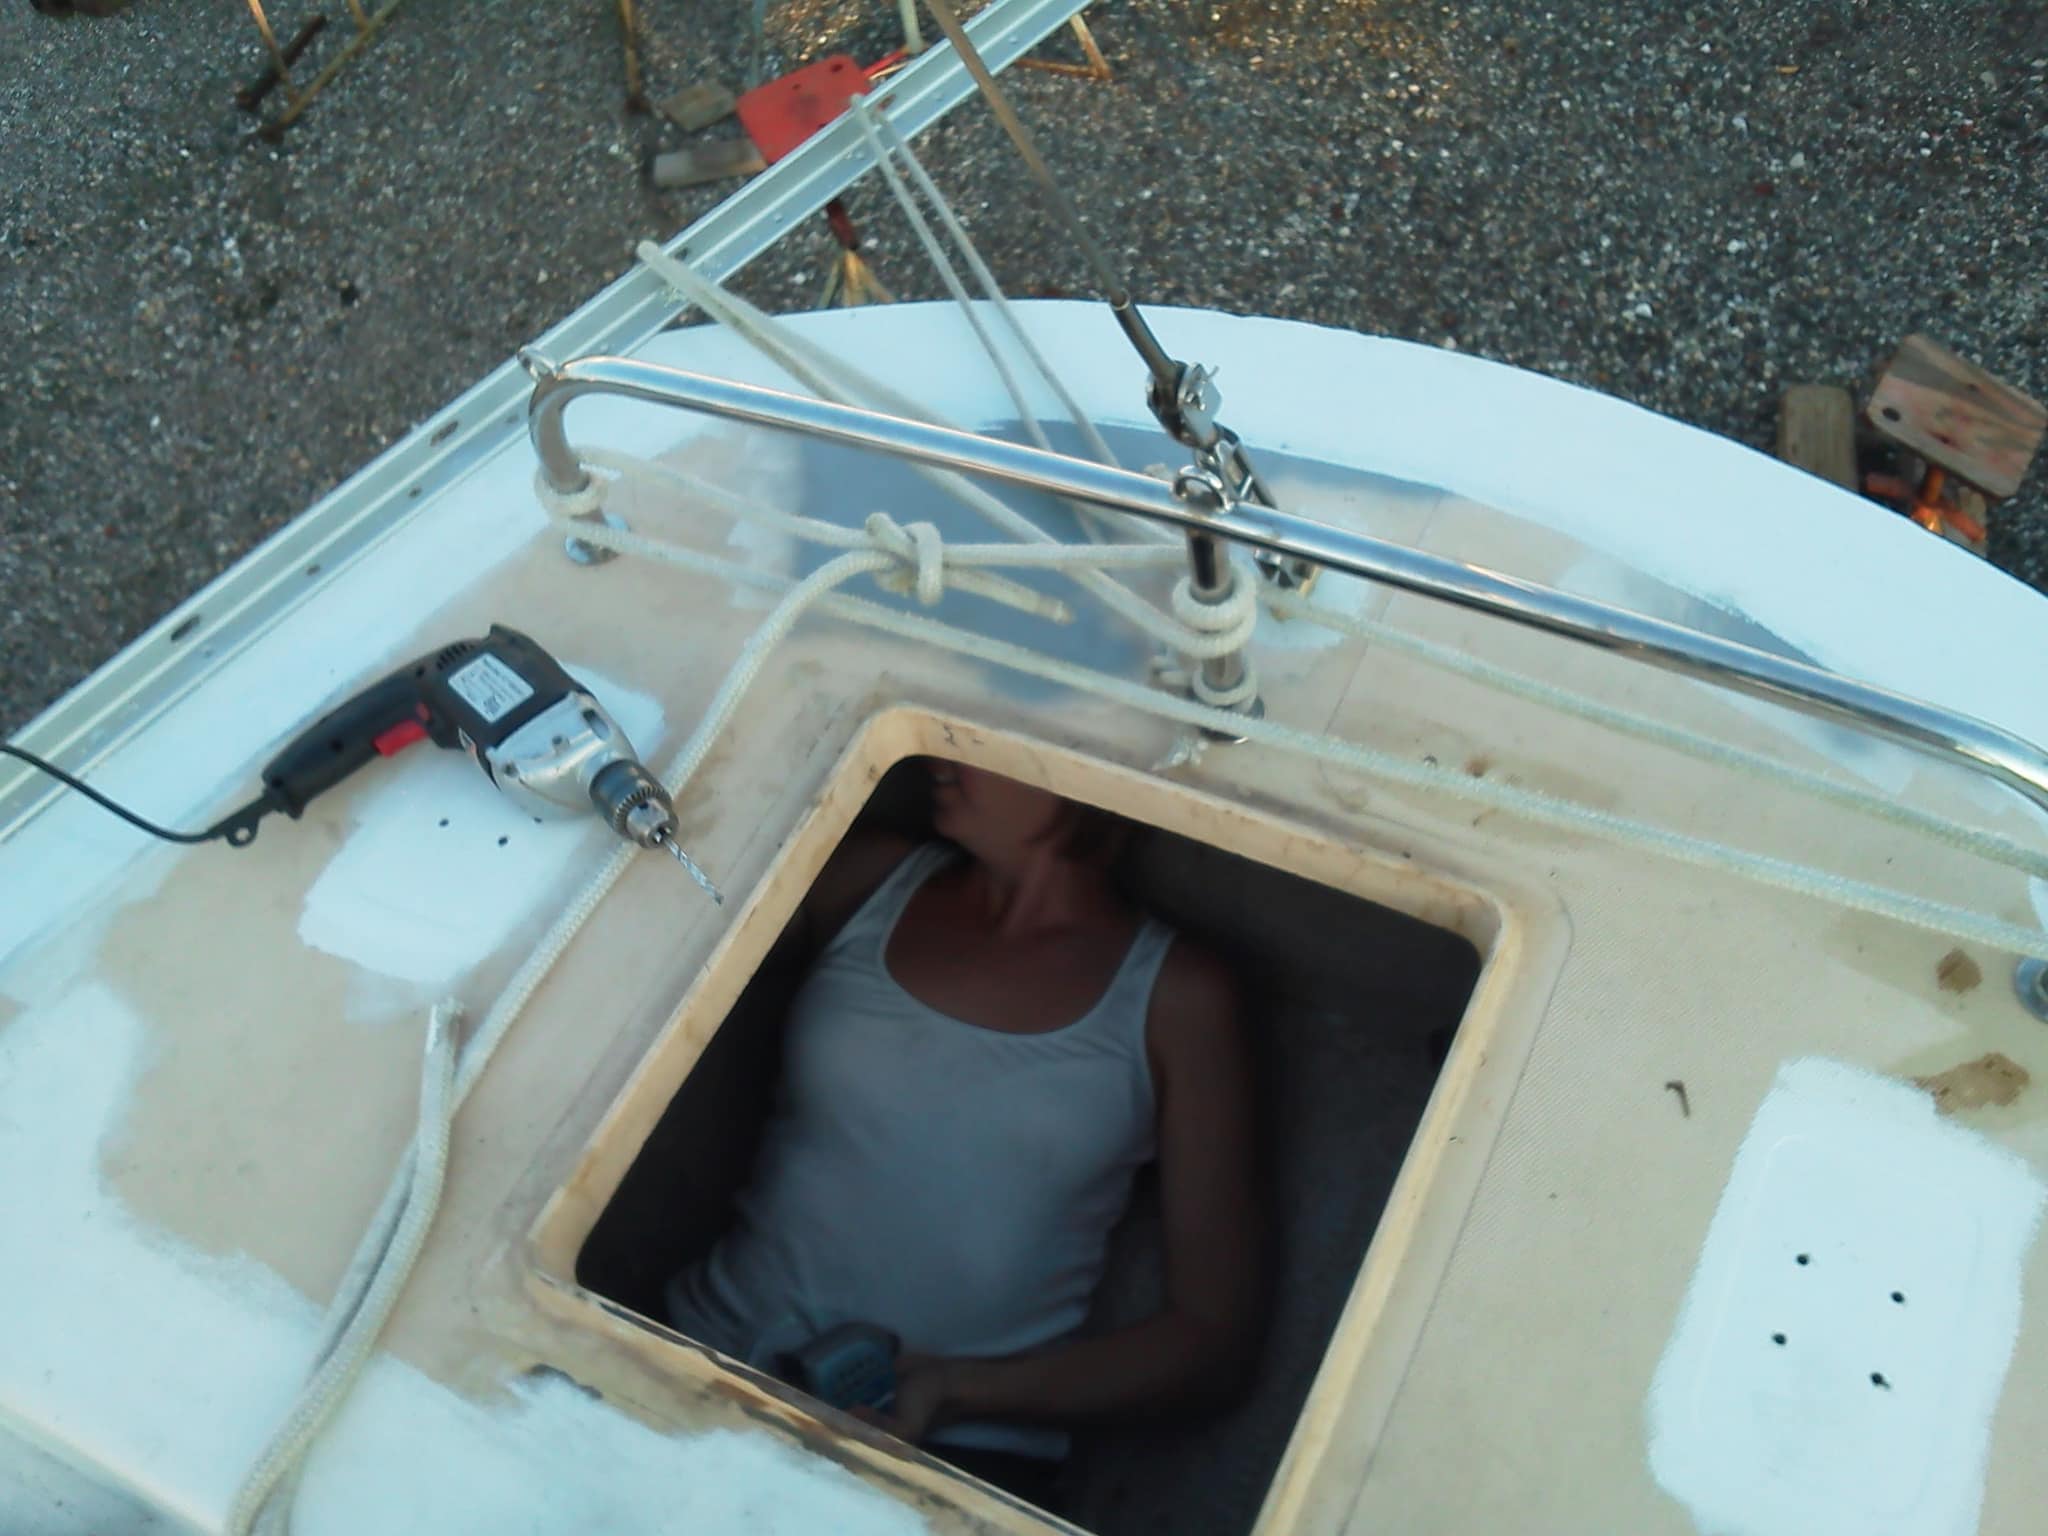
- With rails off, clean up all drill shavings in and out, prep for butyl by having a filled and faired, clean surface.
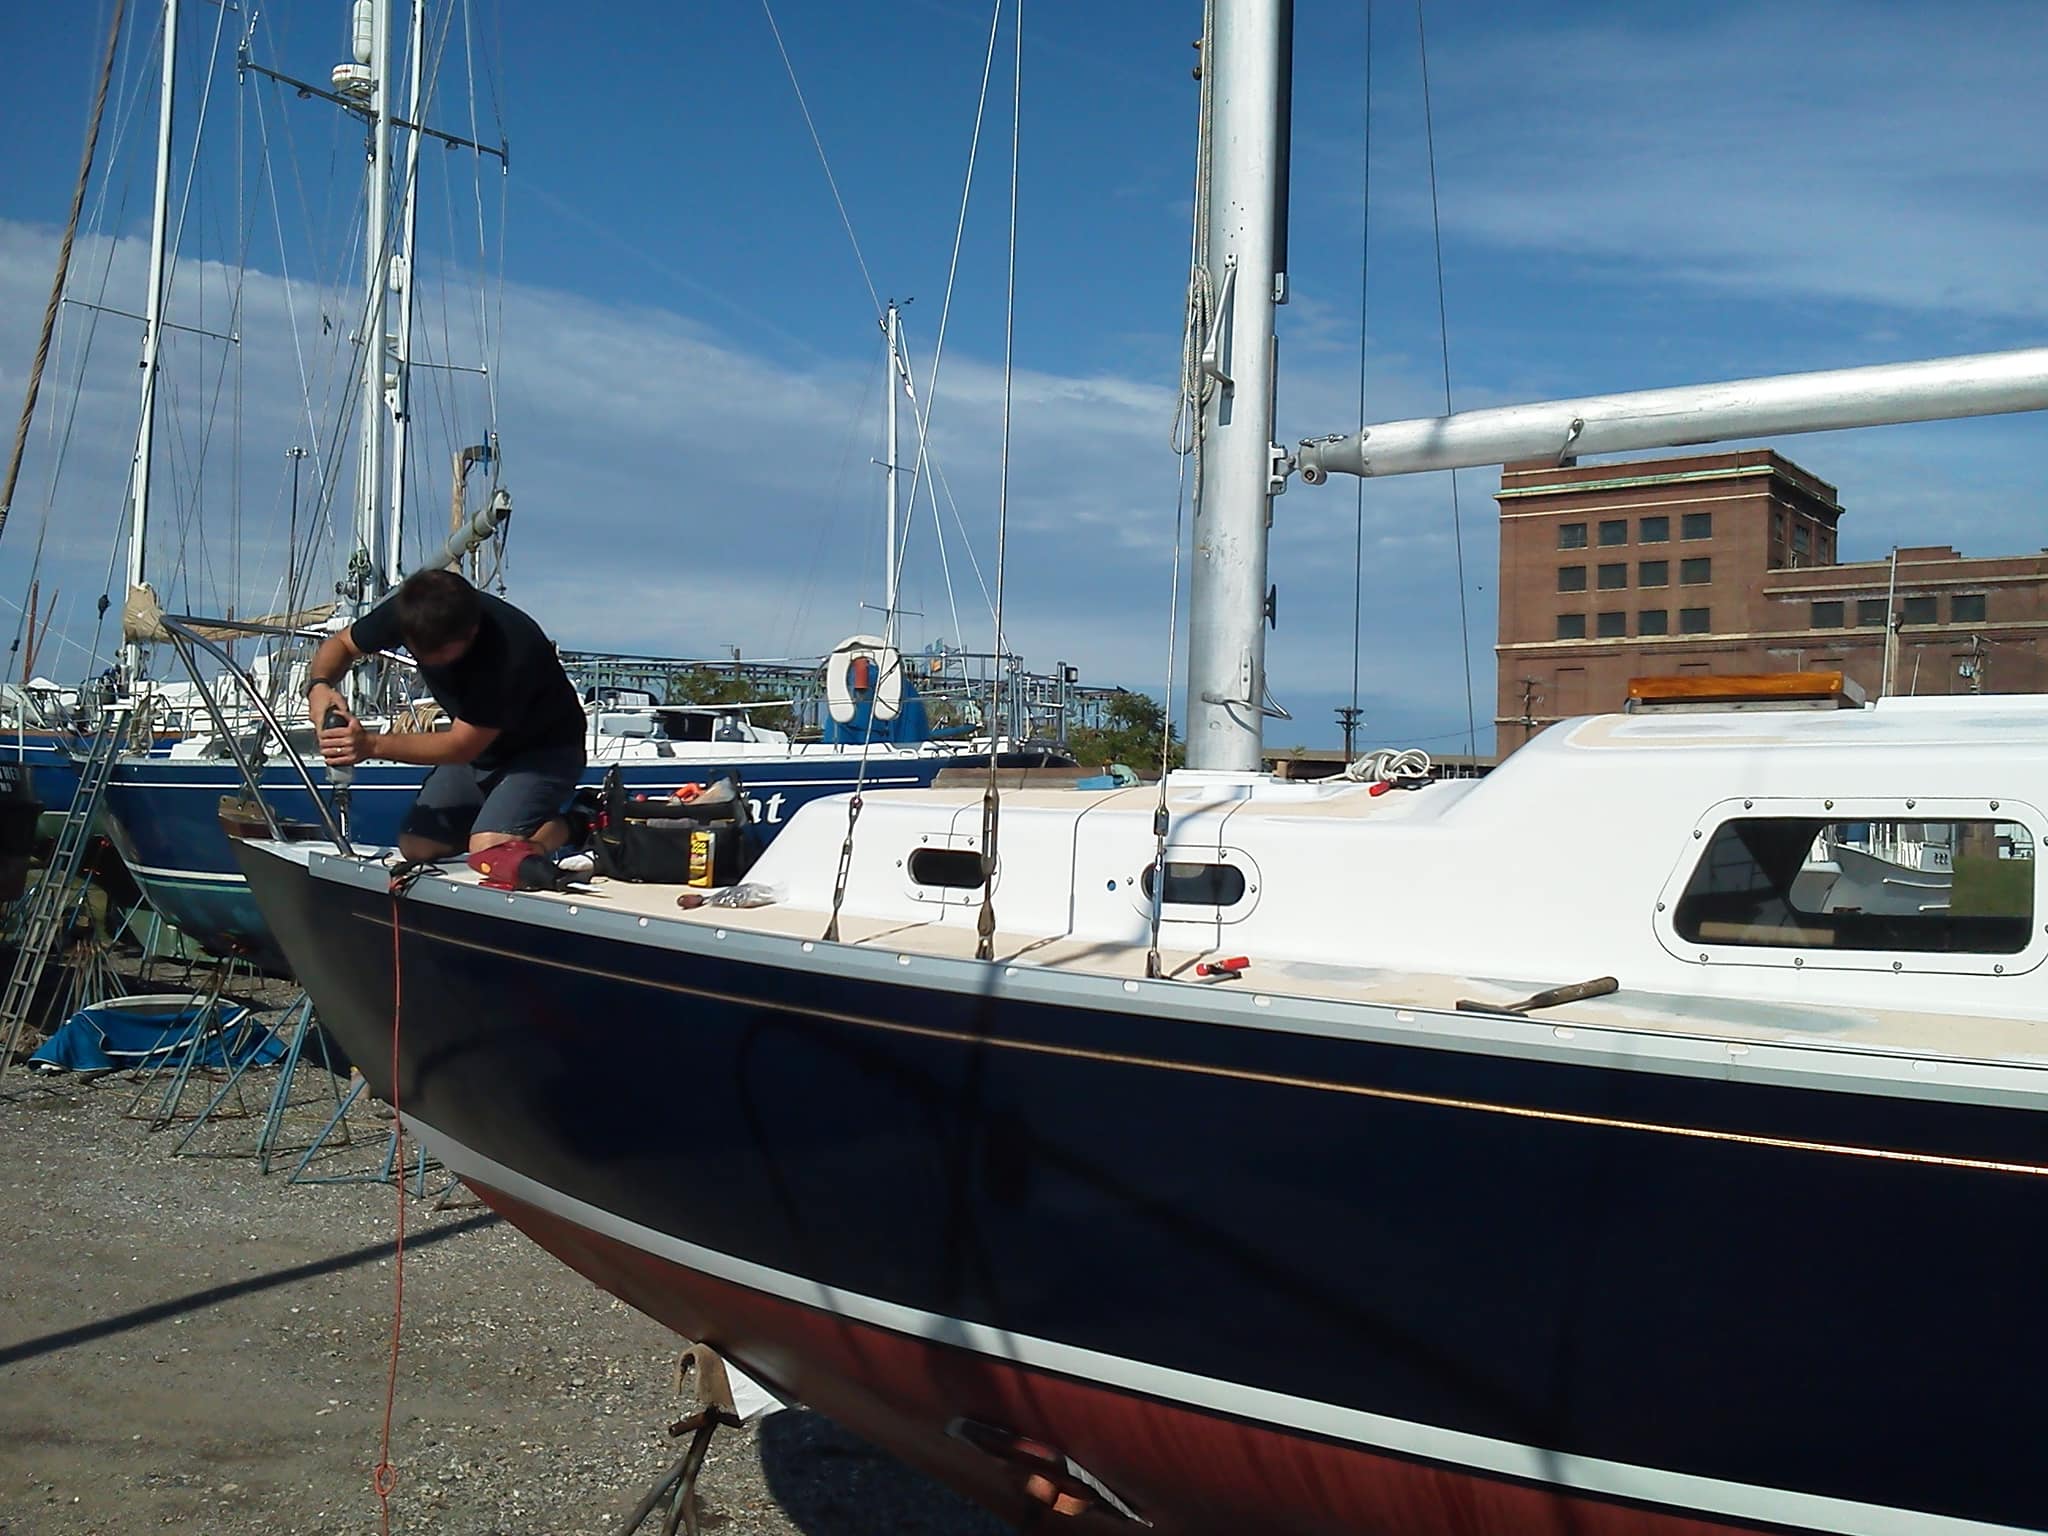
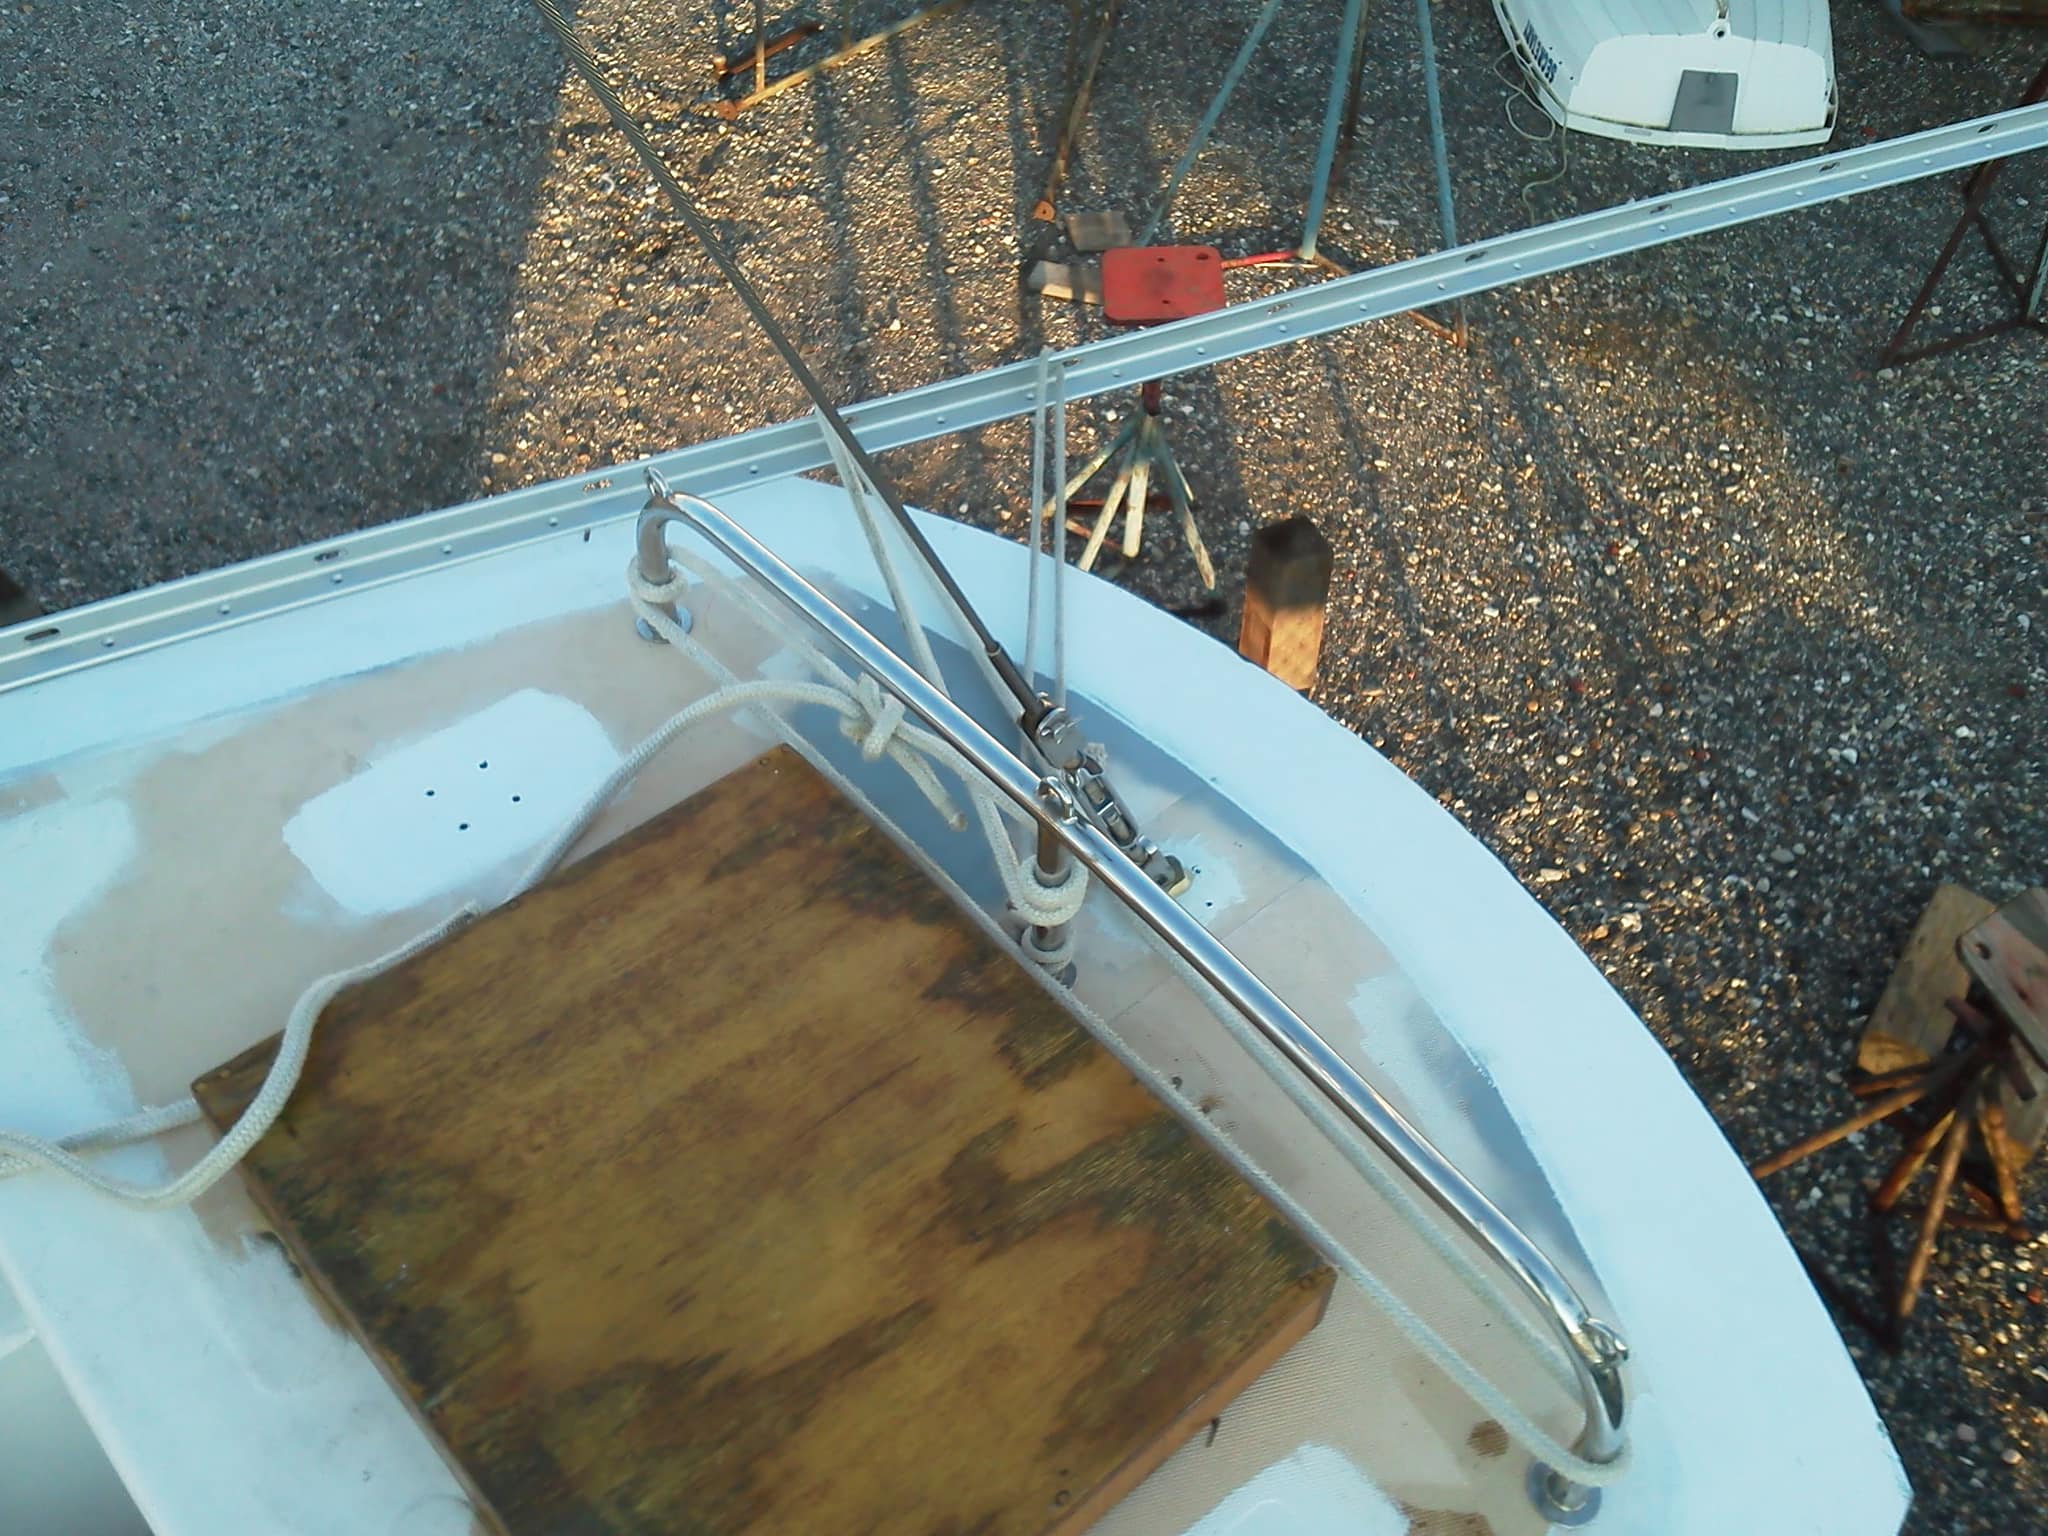
- Reinstall the rails, leaving them up from the deck (see pic). You'll need the space to apply grey butyl.
- Apply the needed amount of rolled grey butyl to inner and outer part of rail. I found a rolled snake with a diameter of a half inch inner and outer was adequate for ensuring full fill after tightening the rails.
- Slowly tighten the rail. Small bits so it all lays down symmetrical without kinking.
- Test with a powerful hose or a rainy day. If no leaks, trim ends off with a cutting wheel. Sand to shape and debur. Actually, debur, then sand to shape. Natch.